Refine Menu
The NXRefine plugin to NeXpy installs a top-level menu labelled “Refine”, which initializes parameters required for the data reduction workflow, determines . Some o.
Choose Parameters
This dialog initializes a new experiment directory layout using the server settings to initialize default locations. When the dialog is launched, click on “Choose Experiment Directory” to launch the system file browser in order to select or create the new experiment directory.
Copy Parameters
This dialog creates NeXus files that are used as templates for the
experimental files that are used to store all the data and metadata
associated with a particular set of rotation scans. The initial metadata
is defined by parameters in the settings file in the tasks
sub-directory, which can be modified by the “Edit Settings” sub-menu
described below. However, some of the metadata will be refined using a
powder calibration, whose results are then stored in this file.
Find Maximum
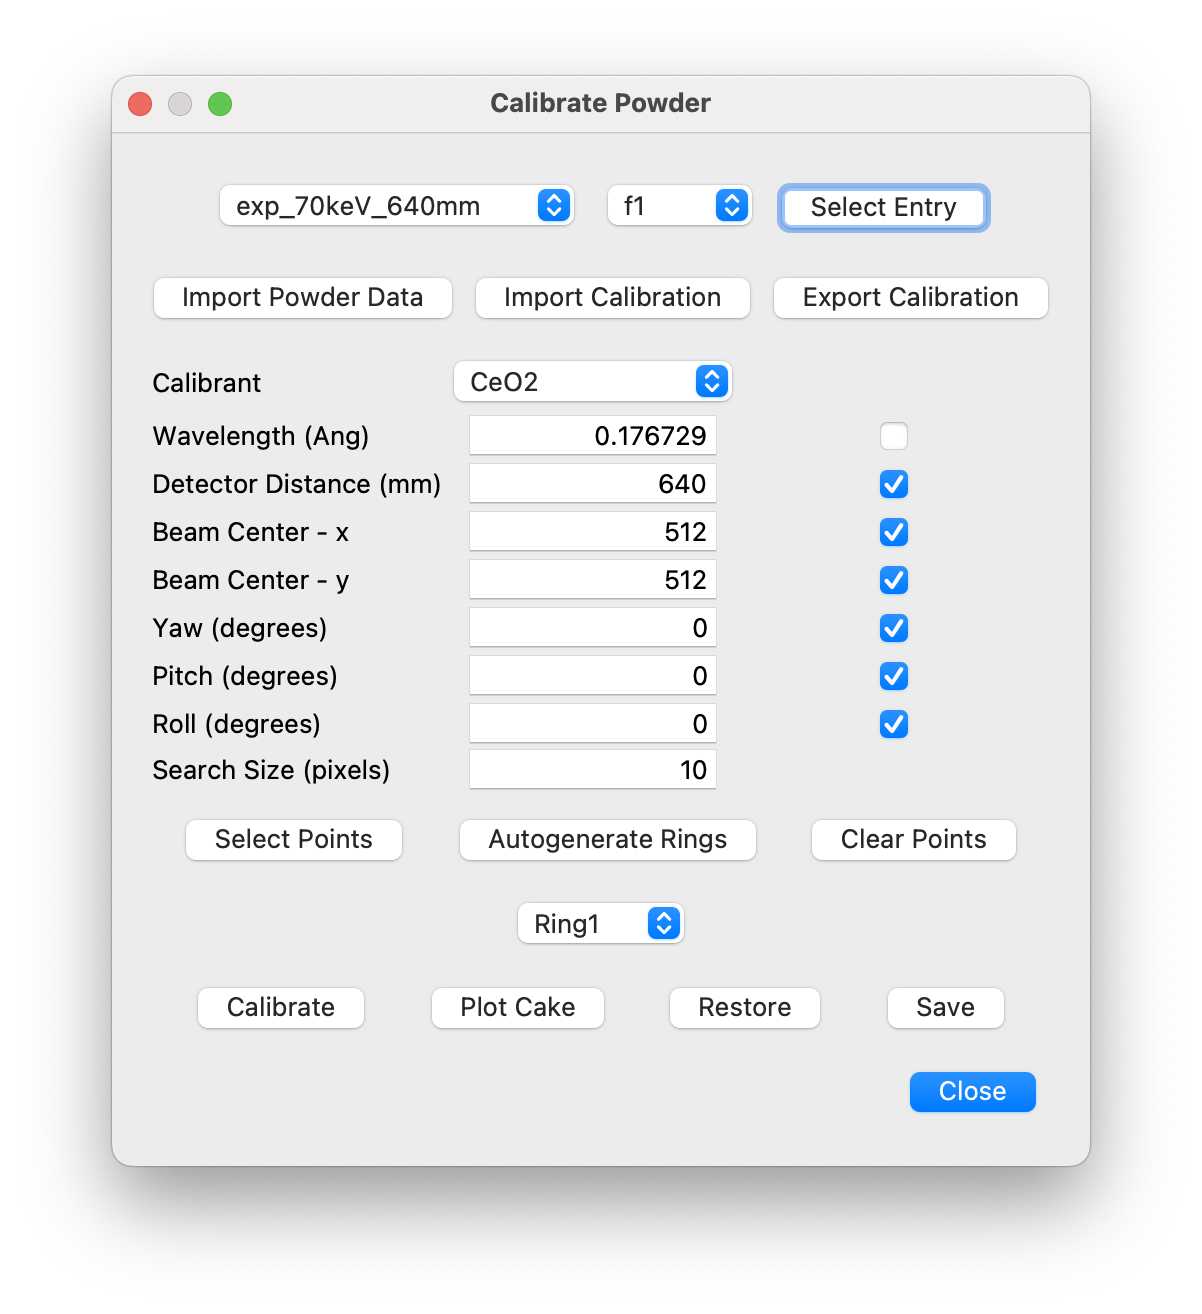
This dialog will import a TIFF or CBF file containing measurements of a powder calibrant and refine the detector position and coordinates, using the PyFAI API. Alternatively, if the calibration parameters are already available in a PONI file, they can be directly imported. The resulting powder data and calbration parameters are then saved to the configuration template previously created using the New Configuration dialog.
Find Peaks
This dialog creates a pixel mask that is used to exclude bad pixels from further analysis. As described above, when a new configuration file is created, a pixel mask that excludes gaps between detector chips is automatically added. Additional pixels can be excluded using this dialog, either by adding editable shapes that are constructively added to the existing mask or by importing the mask from an external file, which can store the mask in any image format. The latter is useful if a beamline regularly updates a particular detector’s mask as bad pixels are identified.
Prepare 3D Mask
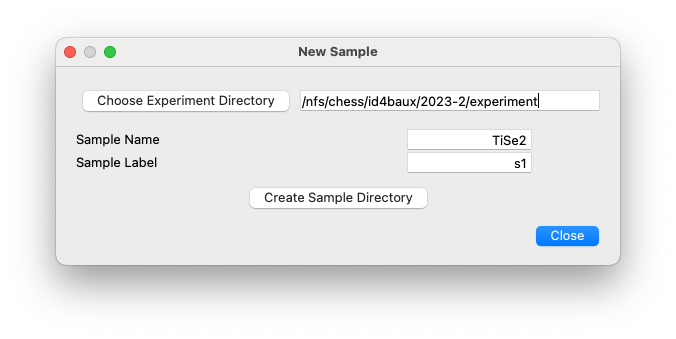
This dialog has the single purpose of creating a directory tree for a new sample. The dialog enables the creation of a sample directory within the requested experiment directory and a sub-directory with a unique label for each instance of that sample measured during an experiment.
Calculate Angles
This dialog is used to create a NeXus file in preparation for an experimental measurement. The file will be based on the selected configuration file and be saved in the specified sample/label directory. The name of the file will be “<sample>_<scan>.nxs”, where <scan> is the Scan Label specified in the dialog (‘300K’ in the image below).
Define Lattice
This dialog is for instruments in which the scans are already defined
using different methods to those above. For example, on the QM2
instrument at CHESS, the scans are defined in SPEC files, with the data
stored separately in a separate read-only directory. With this dialog,
the directories containing the raw images are associated with the
corresponding SPEC scan, allowing NeXus files to be automatically
generated. This customization is encoded in a QM2 sub-class of the
NXBeamLine class, which is installed separately as a NXRefine
plugin. The process for customizing other beamlines is described later.
Refine Lattice
This dialog allows data in NeXus files collected under identical conditions to be summed to produce a single NeXus file that can be processed using the usual workflow.
Transform Data
This dialog allows the settings, whose default values are defined in the
server directory (see Default Settings), to be customized for the
data reduction performed in the selected experiment. The settings are
stored in <experiment>/tasks/settings.ini. The meanings of each
setting are described in the next section.